> ## Content Index
> Fetch the complete content index at: https://blog.anthea.day/llms.txt
> Use this file to discover other available public pages before exploring further.
# 用 Vercel 打造自己的前後端服務吧(1):Vercel Functions 寫最簡單的後端
- URL: https://blog.anthea.day/e7-94-a8-vercel-e6-89-93-e9-80-a0-e8-87-aa-e5-b7-b1-e7-9a-84-e5-89-8d-e5-be-8c-e7-ab-af-e6-9c-8d-e5-8b-99-e5-90-a7-1/
- Published: 2025-09-01T16:17:59.000Z
- Updated: 2026-11-07T20:07:42.000Z
- Author: Anthea / 芫荽
- Tags: #Migrated-1792241843742, #Import 2026-10-17 12:57, Coding
最近在做 side project 的時後在煩惱應該怎麼選前後端的框架比較好,希望後端是可以簡單就好,能夠不要自己維護 server 更好。剛好看到滿多人使用的 Vercel 除了有提供部署的平台之外,也可以透過他們提供的 Vercel Functions 來寫超級簡單的 api,於時決定來研究一下要怎麼使用。
#### 註冊 Vercel 帳號
在開始之前首先你要有一個 Vercel 的帳號。這邊就不贅述要如何建立,反正一路點點點註冊完後就可以回到你的專案,開始準備材料了。
#### 準備程式碼
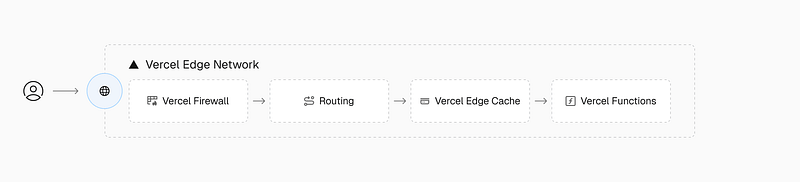
Vercel Functions 只要你在根目錄底下建立一個 `api` 的資料夾,並且按照格式 export function 後,使用 Vercel 的相關服務時他就會自動偵測並幫你轉換成 api:
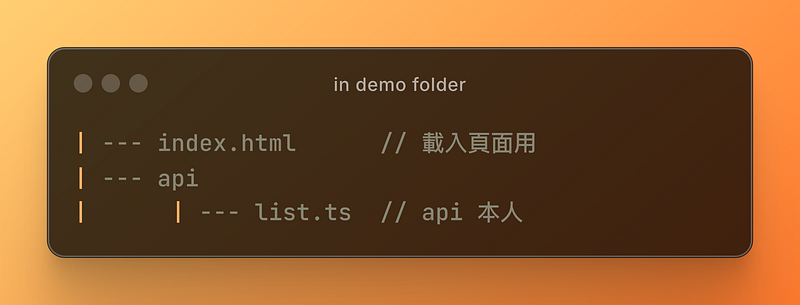
所以我們在資料夾底下準備這兩個檔案就好:
```xml
```
```css
interface Book {
title: string;
author: string;
}
export function GET(request: Request) {
const body: Book[] = [
{
title: "Test Driven Design",
author: "Kent Beck"
},
{
title: "Clean Code",
author: "Uncle Bob"
}
];
return new Response(JSON.stringify(body), {
headers: {
"Content-Type": "application/json"
}
});
}
```
#### 使用 Vercel 啟動開發環境
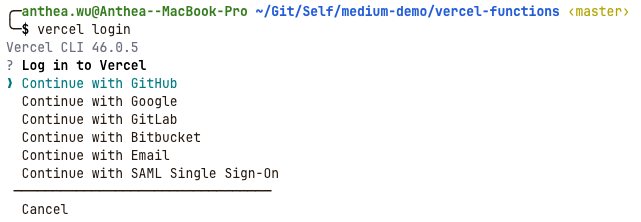
準備好程式碼後,我們要先透過 CLI 進行登入,才能繼續使用 vercel 的功能。在 terminal 介面中輸入 `vercel login` 並選擇你原本註冊的方法:
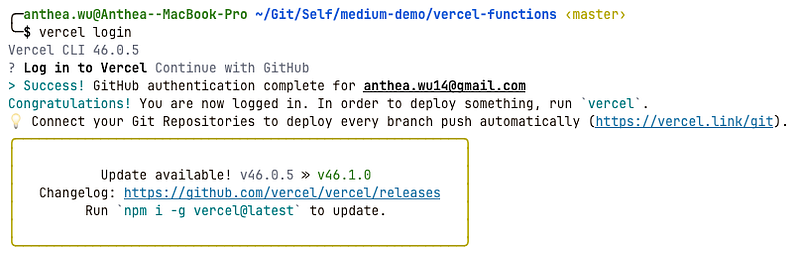
完成之後會看到像下面這樣的畫面:
接著輸入 vercel dev 來啟動開發環境。如果你是第一次輸入的話,他會問你一些問題順便幫你在 vercel dashboard 上設定你的專案:
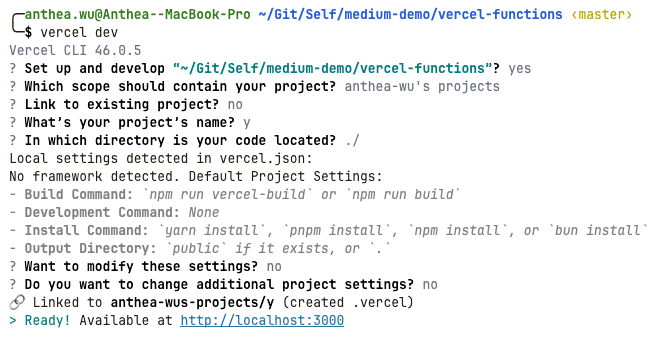
看到最後一行的話就表示成功囉!這時候也可以到 vercel dashboard 上找找看有沒有你剛剛綁定的專案出現:
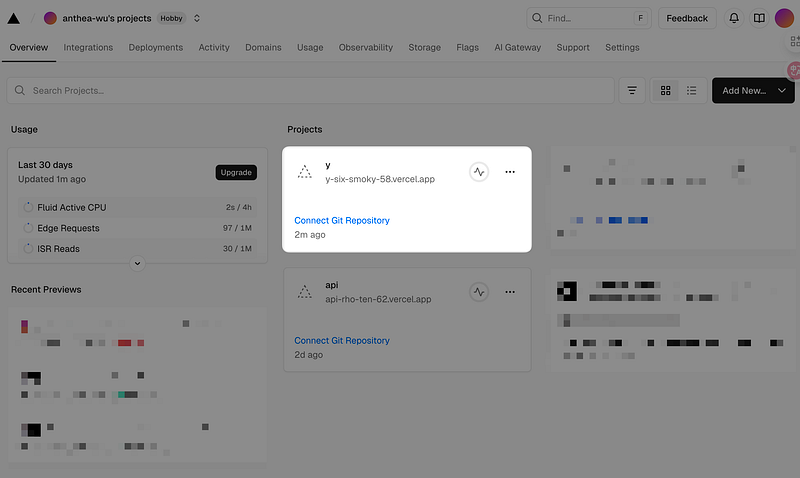
名字如果不打的話就按 enter 就好,不要無腦按 y,不然就會像上面這樣 :)
這時候專案點進去還會是空的,因為我們只是借用 vercel 的服務進行開發,還沒有真的把程式碼推上去,所以專案裡面還是空的。
#### 新增不同 HTTP Method 方法
在這個最簡單的本的 API 中,function 名稱就是對應的 HTTP Method name。也就是說,如果我今天想要加入新增書籍的方法的話:
```javascript
export async function POST(request: Request) {
const newBook: Book = await request.json();
books.push(newBook);
return new Response(JSON.stringify(newBook), {
status: 201,
headers: {
"Content-Type": "application/json"
}
});
}
```
這樣就可以囉!
---
以上就是今天的分享,完整的程式碼我會放在 [GitHub](https://github.com/anthea-wu/medium-demo/tree/master/vercel-functions?ref=blog.anthea.day) 上,直接點開 `index.html` 就能試試看囉!希望你喜歡今天的文章,我們下次見 👋